[Unity] 키우기 게임 개발 일지 Day 10
·
개인프로젝트/[Unity] 키우기 게임
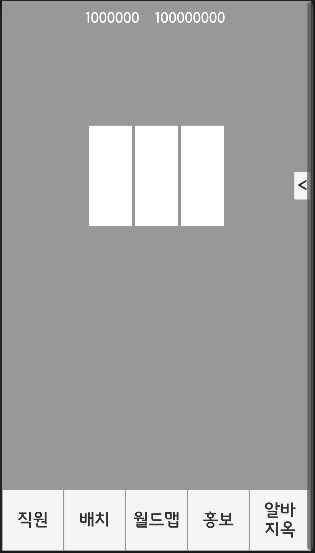
MainScene UI 개발작명이 마음에 들지 않아 Global에서 MainScene으로 바꿨다.메인 씬의 UI구나 하는 느낌이 들 수 있게끔 말이다. UI 연결하기 우선 각 메뉴의 Presenter, UIPresenter, UIView와 캔버스를 만들었다.지금은 비어있으나 딱히 상관없다.연결하는 것이 목표기 때문이다. 버튼을 누르면 해당 캔버스가 켜지거나 꺼지는 기능을 만들 것이다. 파이프라인이 복잡해지게 하고 싶진 않아서 MainSceneUIPresenter 클래스가 UIPresenter를 들고 있지 않게 할 것이다.대신 MainScenePresenter를 통해 Show, Hide를 담은 콜백을 전달할 것이다. public class MainSceneUIPresenterAction {..


